There was shocking news in January this year.
It is very easy to treat as mBaaS, and Parse which is one of the outstanding services carries out the end of service on January 28, 2017 one year after.
[It is important]. Is it the announcement that Parse ends this to 2017/1/28? This. Although it was the outstanding service without more than this, do such things also exist? Henceforth, you should do what.
Mr. posts
Although other services which replace this were considered, Parse was not neglected truly, and Parse Server was open-source-ized, and it has left the choice from now on also.
And Parse Dashboard was announced,too. I tried what kind of thing, respectively.
Enter in February.
There is a blog entry to say and the choice whether they were AWS or Heroku came out.
When I was allowed to refer to the above and it was seen roughly, since Heroku seemed to be easy, it did.
Moreover, since “Parse Dashboard” was set up on the local, it leaves MEMO about them.
Setting up Parse Dashboard on a local.
This dashboard is like the environment which was on Parse.com.referred,
Getting Started. After doing exactly as it is written there, it was easy to set up on the local.
create a clone of the “parse-dashboard” in the github to the local, change directory to the folder, “npm install” (the middle, .git part there is a place to type “yes” was the “sudo git clone …”)
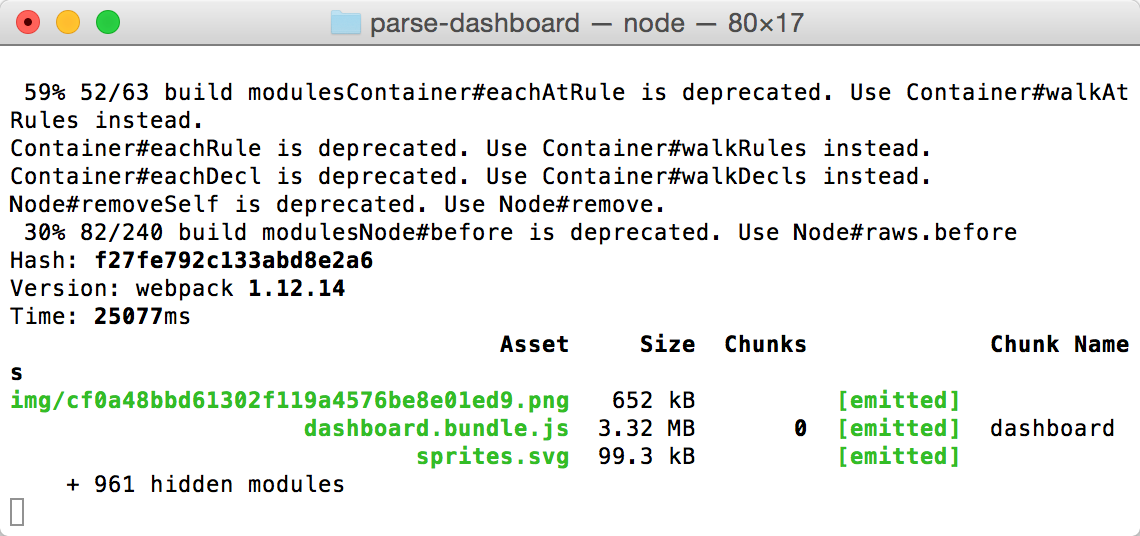
and after execution, if “http://localhost:4040” are opened by a browser, Parse Dashboard will appear “npm run dashboard.”
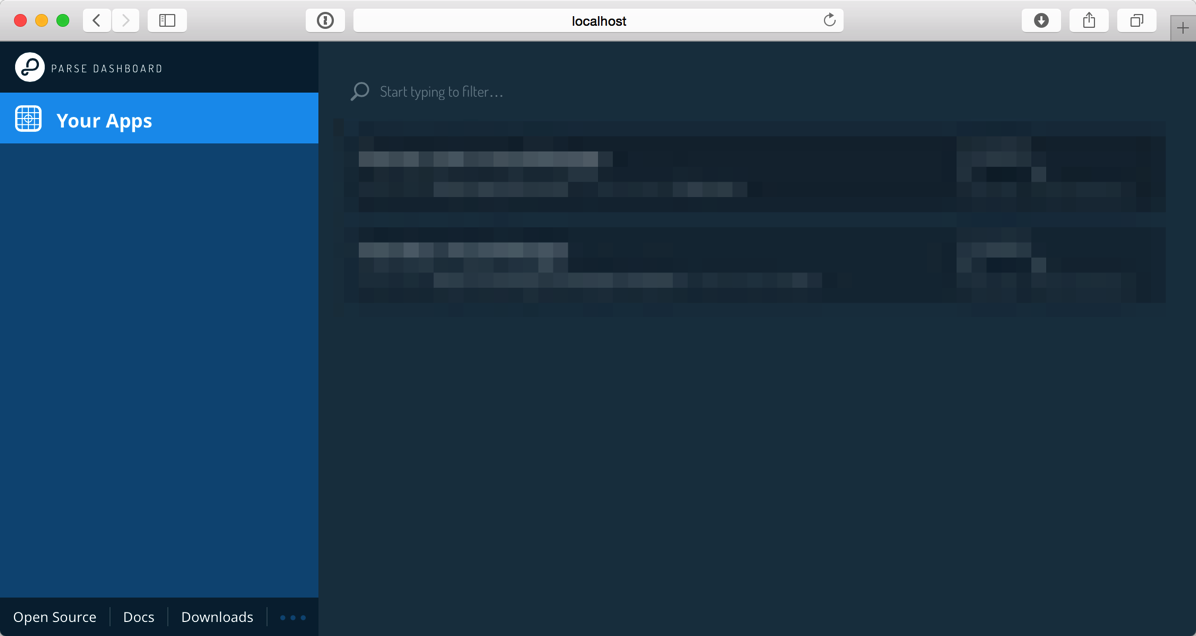
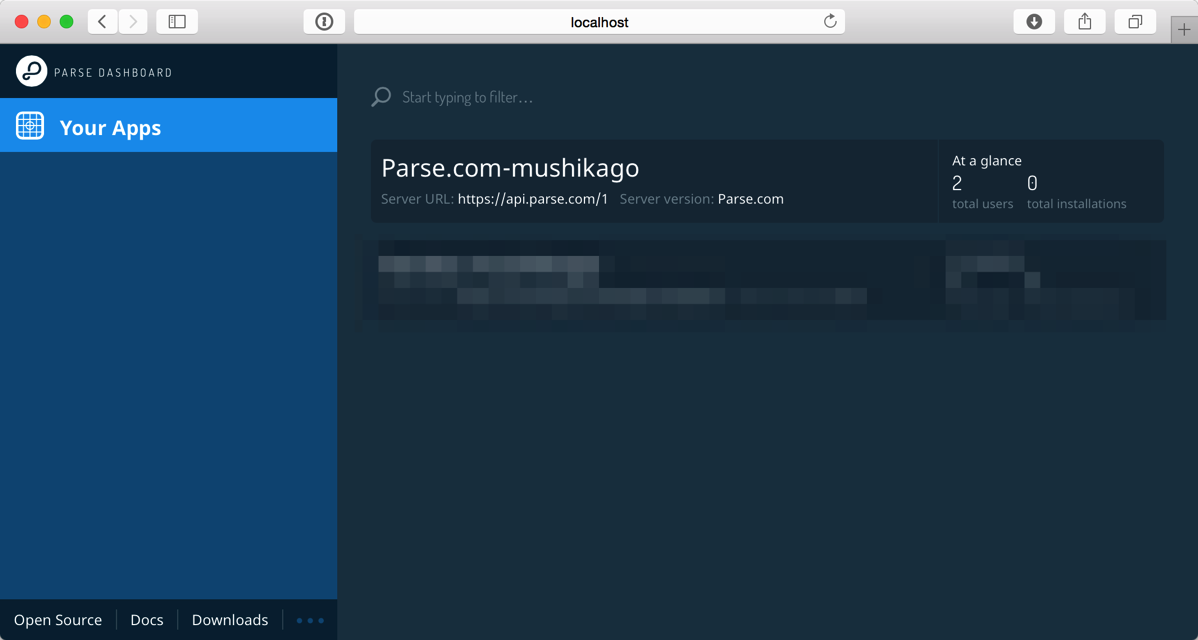
Here, I think there are applications on various Parse Server. I connect with the application on parse.com (since it is before service is still completed now) at a trial. Information is written in “parse-dashboard-config.json” in the installed “Parse-Dashboard” folder. Only by writing Parse application information in arrangement in JSON form, an application is listed on this dashboard. (The key information on the application on Parse.com is in “App Settings>Security&Keys”.)
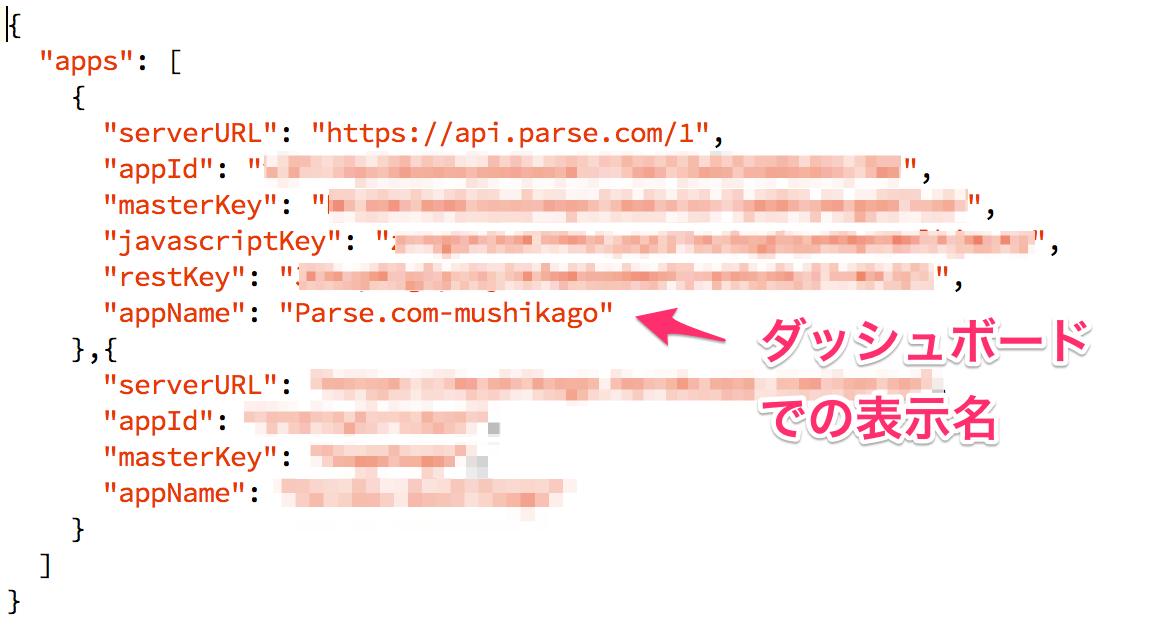
Again, if a dashboard is reloaded on a browser, the application on Parse.com will be displayed firmly,
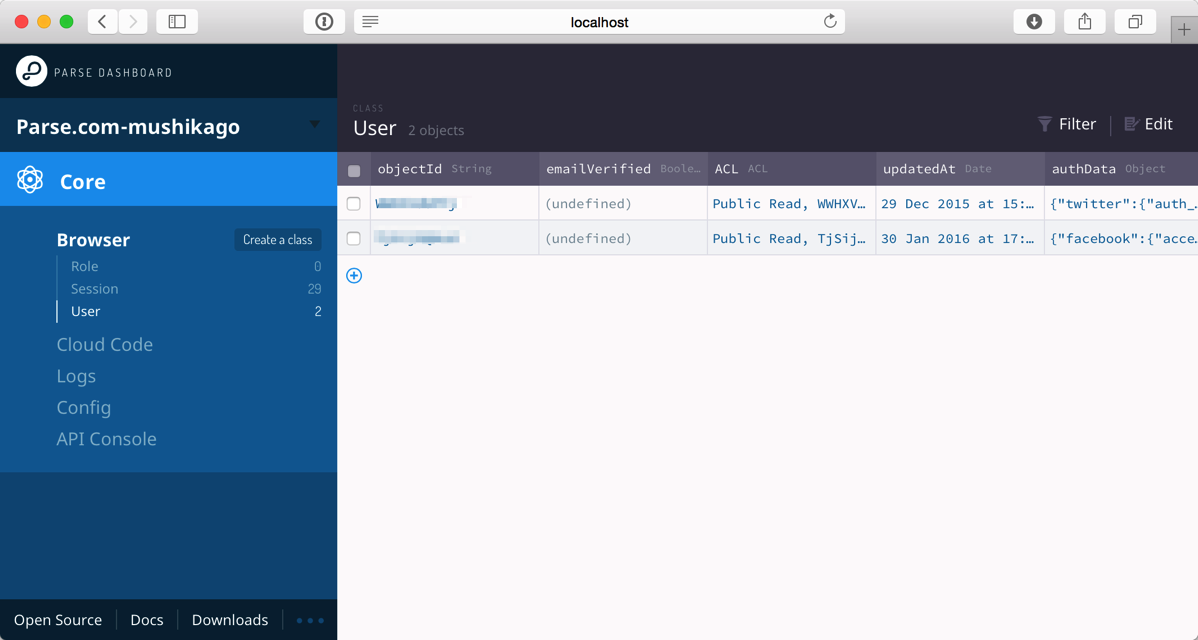
It came to be able to perform reference of the database, etc.
Setting up Parse Server to Heroku.
Next, it is the setup of Parse Server.
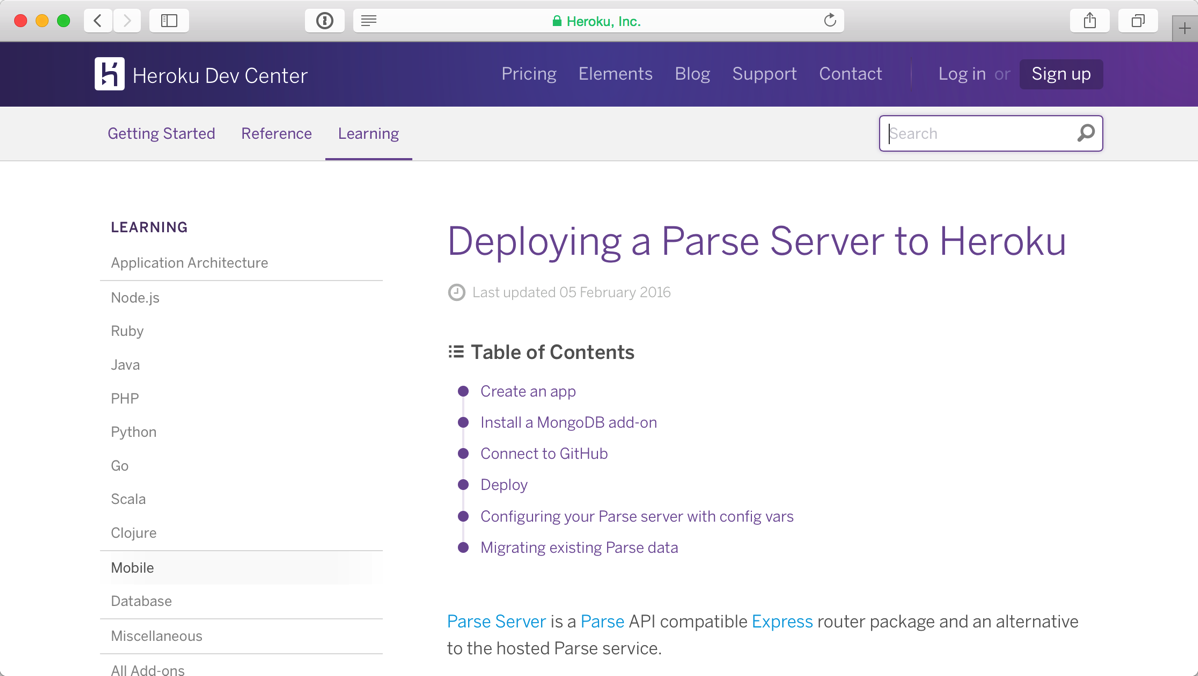
Although it is Parse Server+Heroku, the very intelligible step with a screen shot is indicated to Heroku Dev Center.
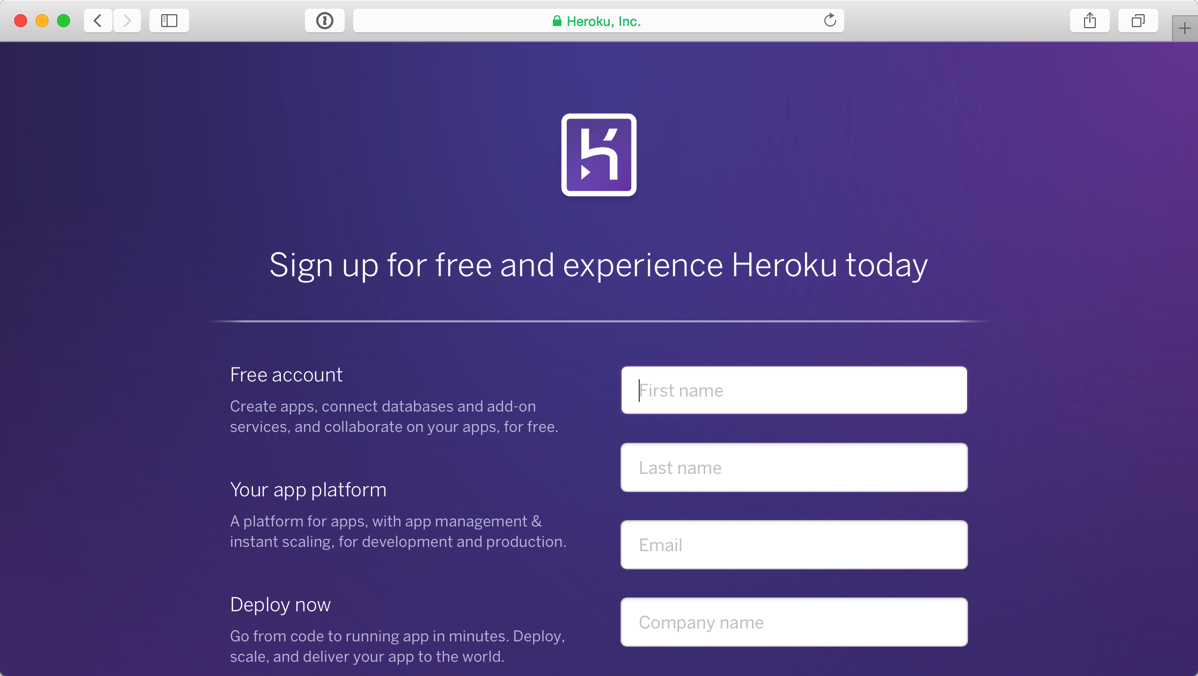
Although it is as being here, I do from the place which prepares account and a database for Heroku. “Sign up” is pushed, a name etc. are put in and account is created newly. (I think that Pick your primary development language should just put in the language often used suitably)
Open the URL of the received authentication e-mail when the account is created. (For some reason I did not open in the Safari captured images, so it has become to Chrome from here)
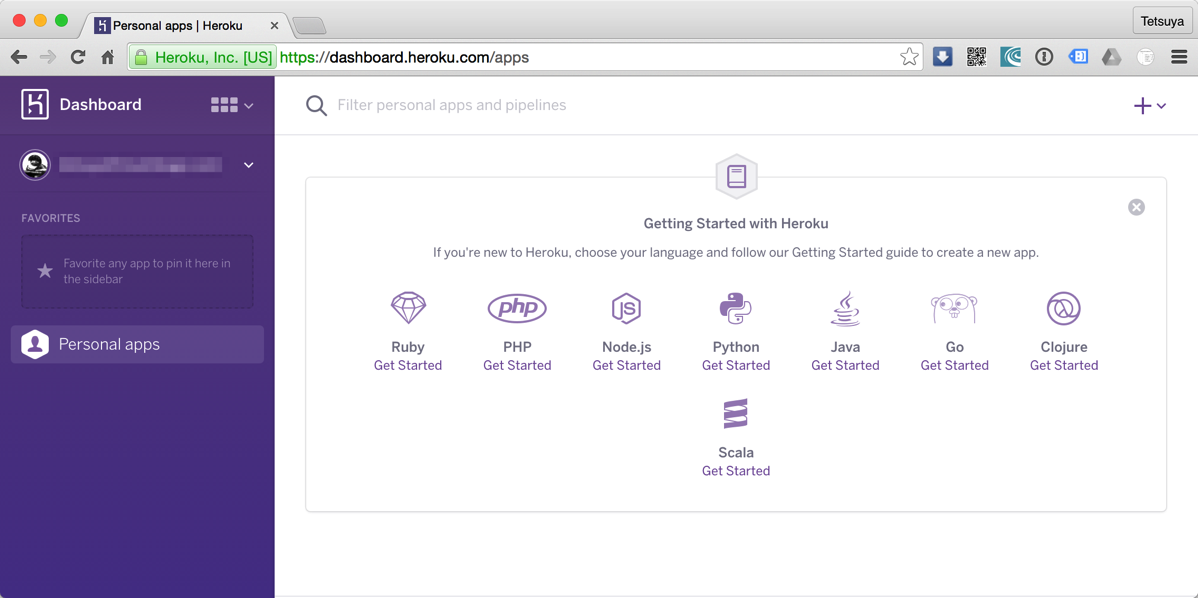
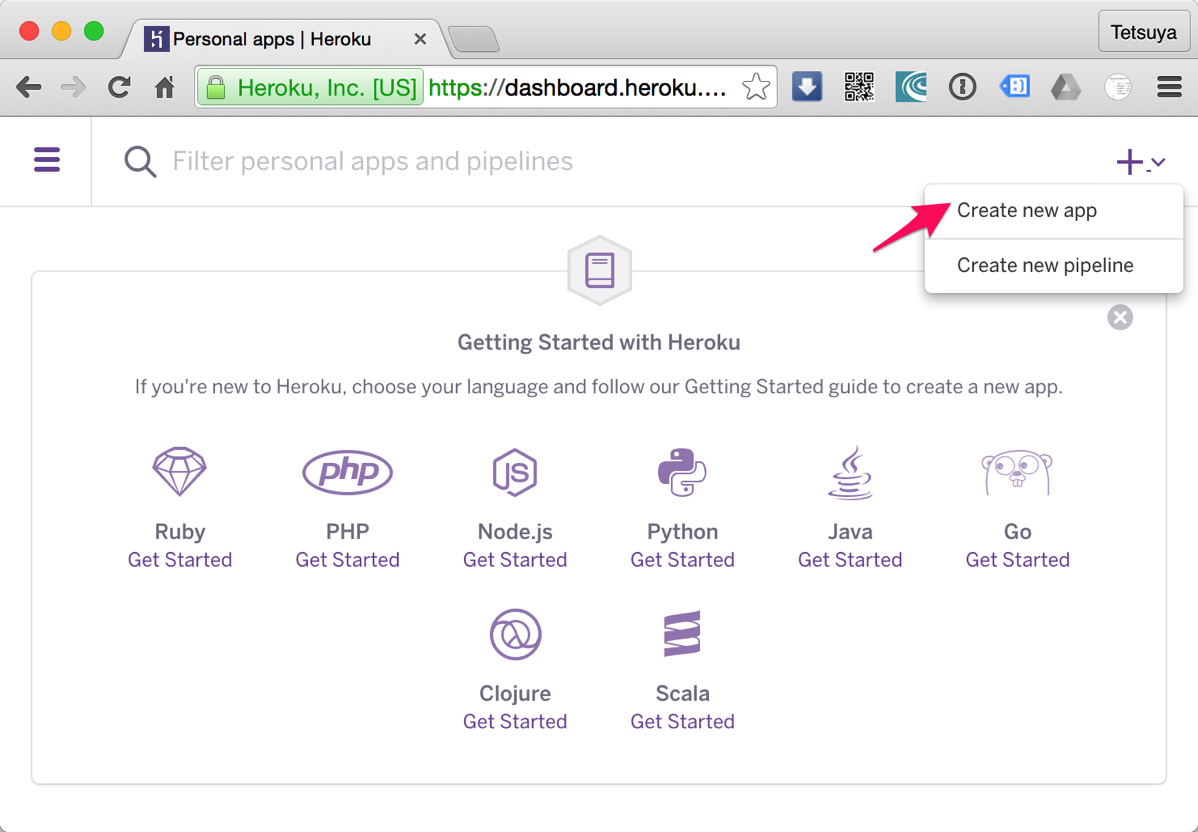
I make one applications. From “+” to “Create new app”
Put App Name in.
It seems that this serves as a unique character string from being later used also for URL of an application. It is a small letter altogether. If already used,”XXX It is set to not available” and cannot use.

After inputting all, then “Create App”

add-on MongoDB (free plan) to the created Heroku application.
Next, it is the setup of a database.
Since Parse needs MongoDB, it adds MongoDB as an add-on. This is also Heroku is easy to add! “Resources” > “Add-ons” tab, since there is a product name and a slight difference of images in the written description, once here, ” MongoLab add-on from the link destination” install.(What searched “MongoLab” was the same)

Select an application used as the candidate for installation . An application in preparation comes out on a list.

Select the plan of MongoDB – Free “Sandbox – Free”.

[Notice] no explanation, payment information must be first set up, though a free add-on is chosen. The page which will pay if it clicks here, and sets up information opens.

Input them here reluctantly.

A credit card is registered into Billing Information.

After putting in payment information, if you click “Provision” on the plan selection screen, next step.

MongoDB was safely set to the Heroku application.

Connect with own GitHub account and “parse-server-example.”
This “parse-server-example” is also the statement of Qiita linked to the beginning.
This is a sample, but It can be used directly without the need for modification .
like that, it is pretty good file. It will be linked this with the app.
Click “GitHub” in a Deploy tab.

Click “Connect to GitHub”

Sign in to GitHub.

Click “Authorize application” and connection with Heroku is permitted to GitHub.

If this following step is only a screen shot, it is a little unclear.
First, “official example” linked also from this explanation writing is opened.

Let’s carry out “Fork” on open GitHub. It seems that the repository which is hanging down from the connected account will be searched with the Heroku side.


And if it puts into the search window of “Search for a repository to connect to” with “parse”, “parse-server-example” which is hanging down from its GitHub account will come out in search results. “connect” is pushed.

If connected safely,

“Deploy Branch” of the “Deploy a GitHub branch” column in “Manual deploy” is pushed.

Deploy starts.


If deploy is successful, it will be displayed as “Your app was successfully deployed.”

If “View” is pushed, “https://xxxxx.herokuapp.com” will open and “I dream of being a web site.” and a simple dream will be displayed.

If the following curl(s) are given up from a terminal, it can check returning with “{“result”:”Hi”}” and operating normally. (“jiminycrickets” — Heroku — an app name)

東京造形大学卒業後、マクロメディア(現アドビ システムズ)に入社。Quality AssuranceやテクニカルサポートマネージャーとしてFlash、DreamweaverなどのWeb製品を担当。独立後、2007年に虫カゴデザインスタジオ株式会社を設立。2021年東京三鷹を拠点に。最近は、CakePHP、Laravel、Unity、ZBrush、Modo、Adobe Substance 3D、Adobe Firefly、Xcode、Firebaseにフォーカスしています。モバイルアプリ開発情報を主としたブログ「MUSHIKAGO APPS MEMO」の中の人。


